
How to Build a DIY Sod Installation That Won’t Die on You!
Who doesn’t love a good DIY project? But when it comes to sod installation, you might be a little overwhelmed by the process—especially if you’re doing it on your own.
While sod installation can seem like a daunting task, we’re here to tell you that it’s actually pretty easy. And if you follow these steps, your DIY sod installation will last for years!
Step 1: Buy the right amount of sods
The first step in any good DIY project is to make sure you have everything you need for success. When it comes to sod, this means buying enough sod so that when laid out end-to-end they cover the entire area where they’ll be installed.
You can get this number by measuring the square footage of the space and multiplying it by .5; this will give you an approximate number of square feet per sod. However, keep in mind that there will be some variation between individual pieces and not every piece will be perfect—so buy a few extra just in case!
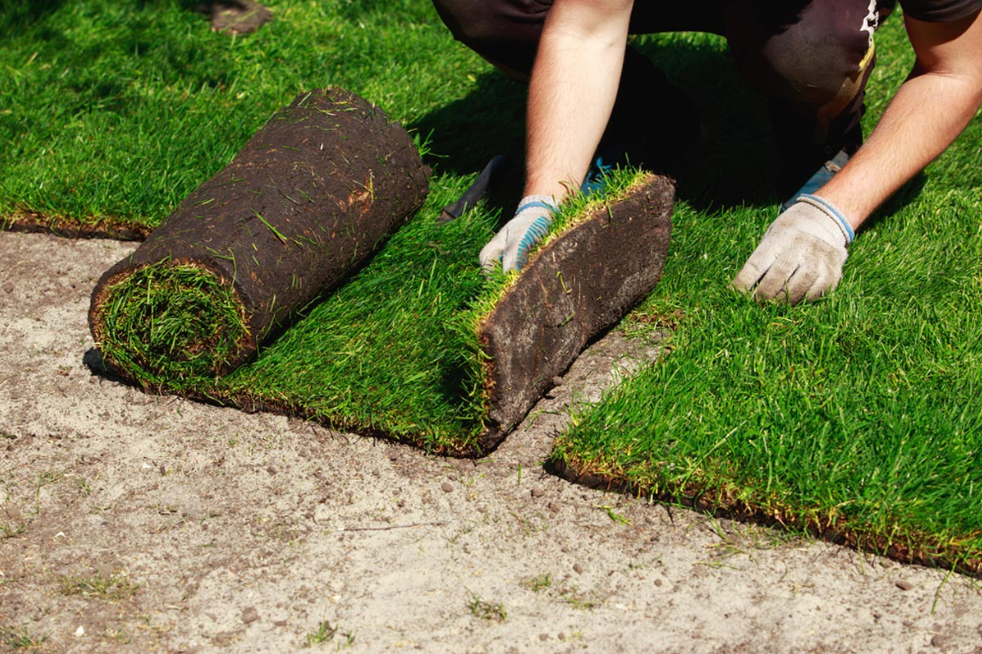
Step 2: Prepare your site for installation
Once you’ve purchased your equipment for sod installation in Brantford and measured out your space, it’s time to prepare your site for installation! You’ll want to remove any weeds or old grass from the
If you’re thinking about installing sod in your yard, but you’re a little nervous about the whole process, don’t worry—we’ve got you covered. Here’s how to do it!
First things first:
You’re going to need some sod. You can find it at your local hardware store or garden supply center.
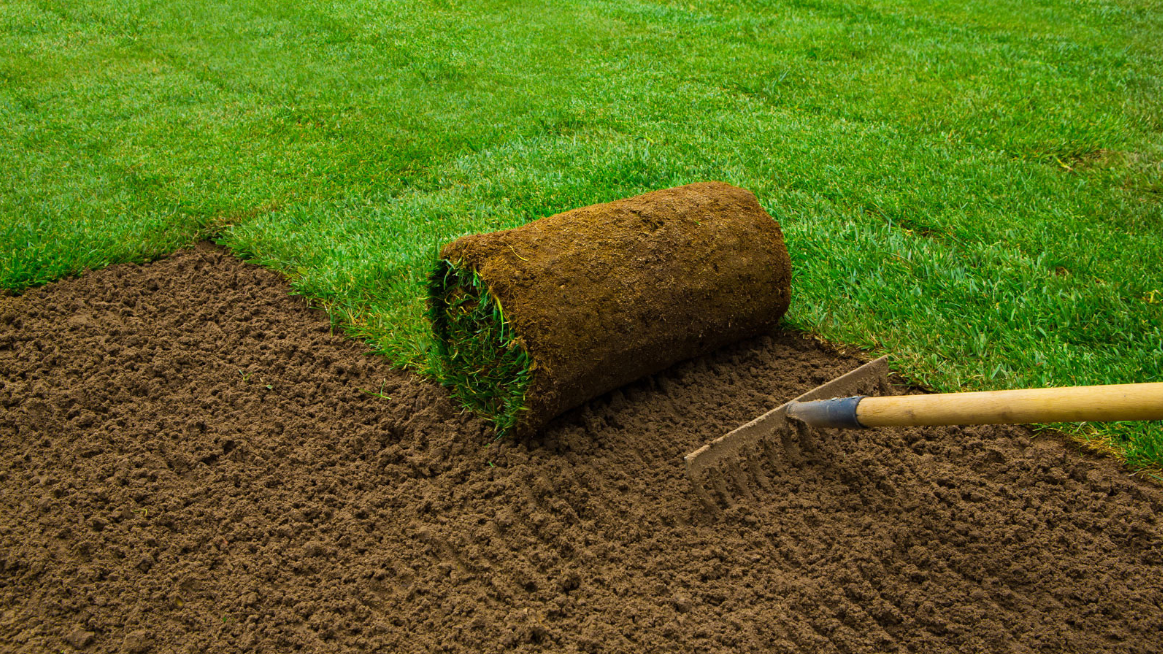
Now that you have your sod, let’s get started! The first thing you need to do is lay out the area where you want your sod to go. Make sure it’s level and even with the rest of the ground around it.
Next, place your sod on top of this leveled area in rows (a grid). Leave a walkway between each row so that when people are walking around they won’t disturb your newly laid-down grass.
FINAL THOUGHTS
After laying out each row, you must follow steps for sod installation to fill in any gaps between them using dirt or sand (the latter works best if there are any holes left behind from removing rocks or other obstacles).
Now it’s time for watering! It’s important that you water your new sod at least twice daily until roots form—more often if necessary up until four times daily.
For more information visit our website!


